How to Add a Section
Step 1: Log in to your account and select the course you would like to add a section to.

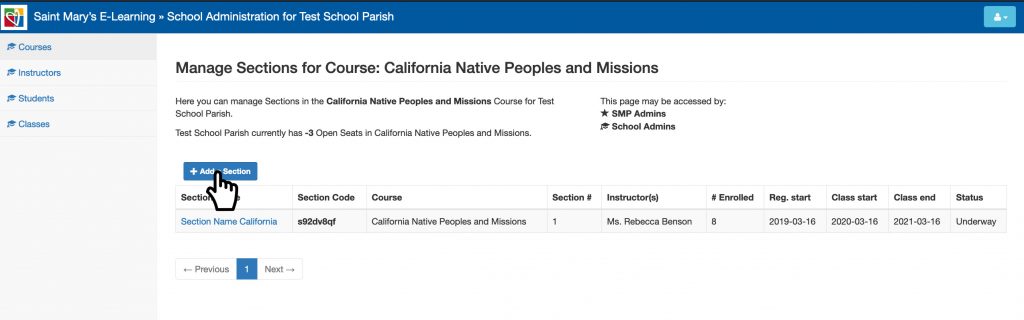
Step 2: The “Manage Sections” page will open. Select “Add a Section” button.
Step 3: The “Section Options” page will open. Click on the name and type the name of the section.
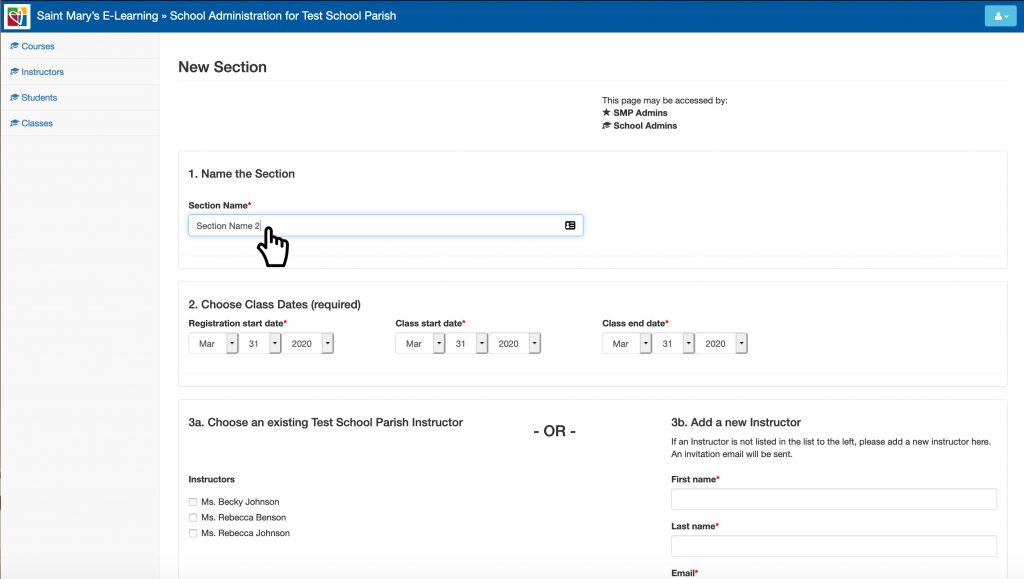
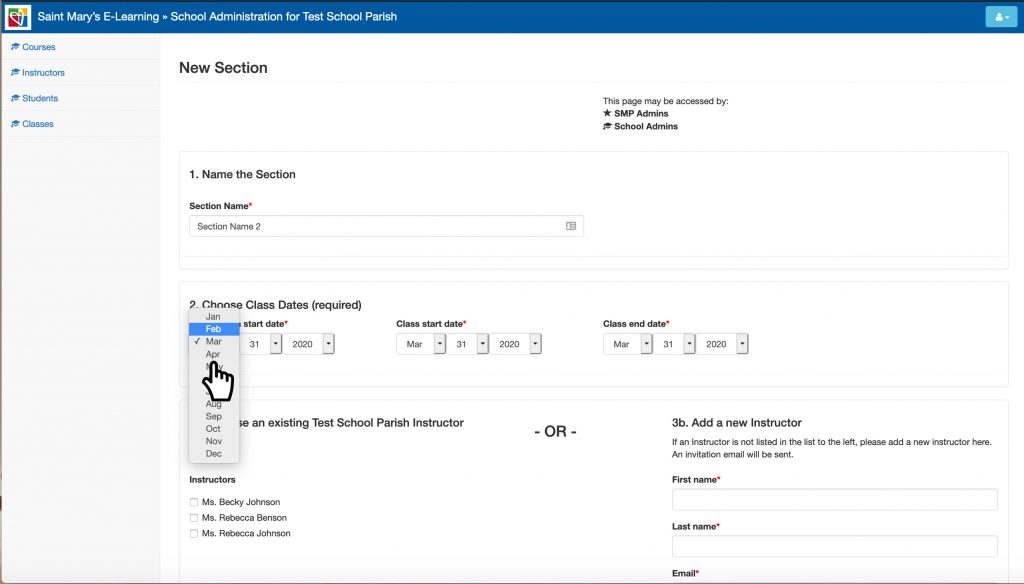
Step 4: Select the dates for registration, start, and end dates.
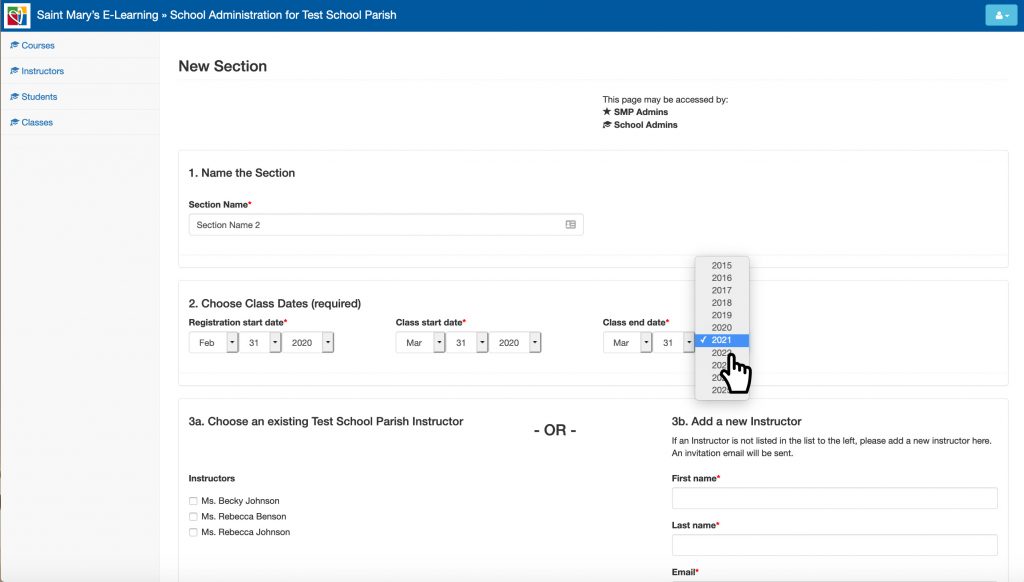
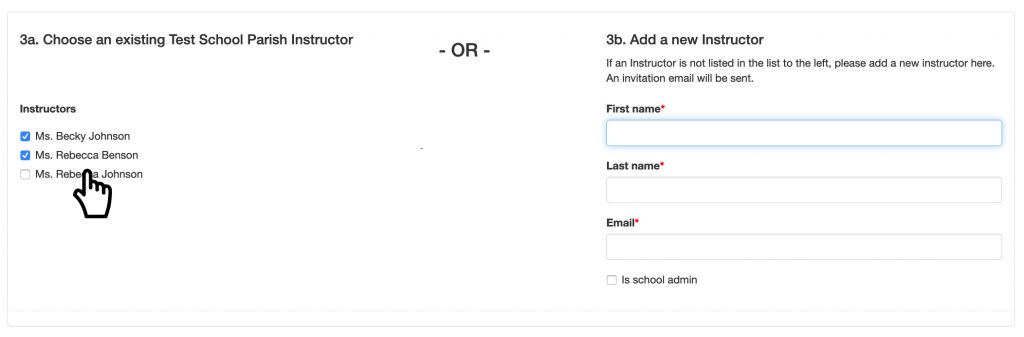
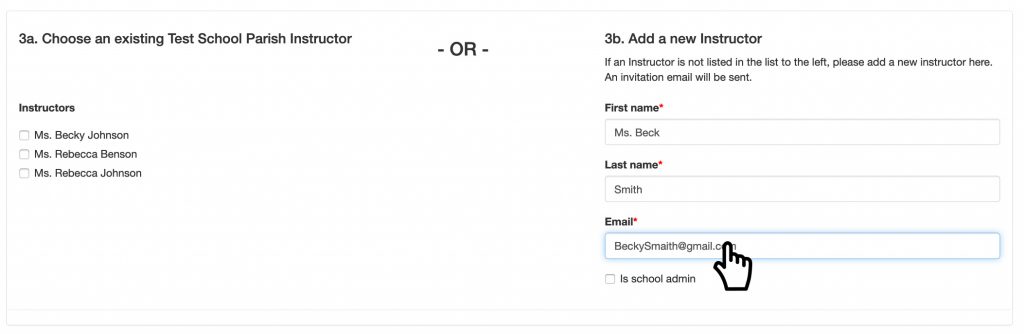
Step 5: Then select an existing instructor or type in a new instructor’s info. With a new instructor you can select whether you want them to be an admin and have access to the admin side of the site.
Note: You can select more than one existing instructor, but you can select either “existing,” or “new,” not both. (If you have to add an existing and a new instructors to enter, you will have to do one, submit, and then go back in and edit the section, to add the other one. If you select “existing instructor” and enter a new one, only the new instructor will get an email confirmation.)
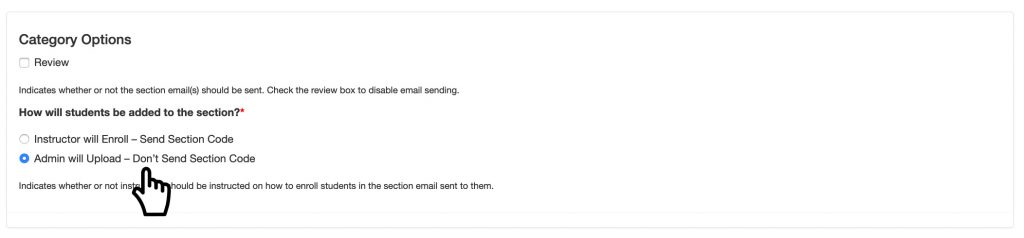
Step 6: Select from one of the following options for instructor:
- If your instructor will be reviewing only, then select “Review,” and ignore the other options.
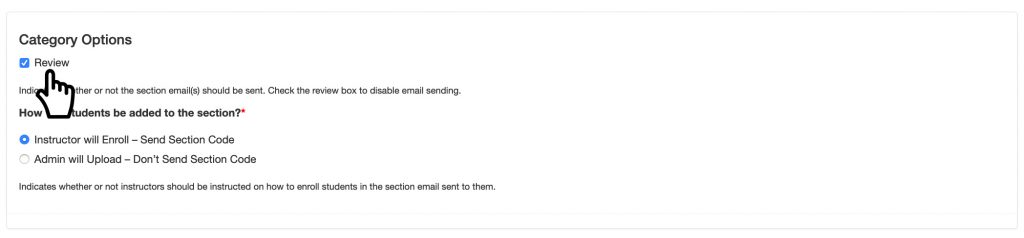
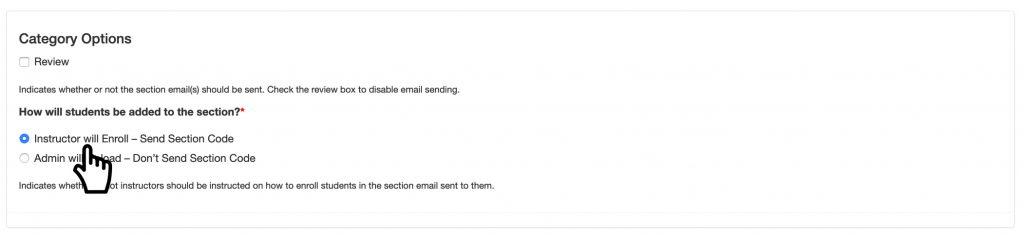
- If your instructor will have students enrolling, then make sure that “Instructor Will Enroll” is selected.
- If you will be uploading students into a section, select “Admin Will Upload.”
Step 7: If everything looks good, click “Submit.”

Step 8: The page will be redirected you to the section overview.
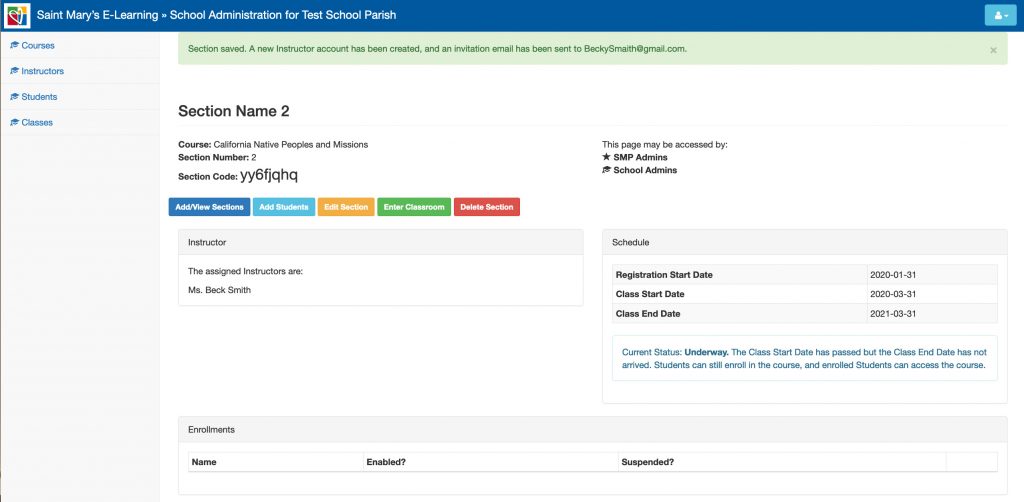
Note: Your instructor will get an email confirmation to access the course.